What each table already shows today
If your table already shows a menu QR, that code points to a hosted page for menu items, hours or location. The QREasy simple restaurant template starts on Free with one page that can include menu details, location and hours. Where that page is already in use, it can serve as the destination for a menu QR, since the URL stays the same while the content behind it can be updated. Adding a second code beside it could give visitors network access without typing the password.
Gather the details each QR will encode
Before printing, list what each code will carry. For the WiFi QR, write down the exact network name, password, encryption type and whether the network is hidden. For the menu QR, confirm the destination URL, ideally a hosted page you control. A static URL QR encodes that URL; content served at the same URL can change without reprinting, so updating the menu later does not require a new QR. The WiFi QR is different: the credentials sit inside the code, so any password change means generating and reprinting it.
Choose where to place both codes
Placement can help reduce wrong-code scans, though it cannot prevent them on its own. Suggested options include a small table tent, a counter card near the till, or two separate stickers at different heights. Give each code enough clear space around it so a guest aiming at one is less likely to capture the other. Avoid spill zones, stacked menus that hide a code, and direct overhead light that causes glare. A table tent with WiFi on one face and the menu on another is one layout option, so each code may be read from a natural sight line.
Label the codes so guests can tell them apart
A short label and a simple symbol help a guest decide before they open the camera. For WiFi, a standard WiFi icon plus the words Guest WiFi works well; add the network name if your restaurant runs more than one. For the menu code, a plate-and-fork icon plus Menu makes the purpose obvious. Keep labels short so they do not crowd the code. If the menu QR opens a hosted page that also lists hours or a phone number, label it after its main job rather than listing every section on the page.
Test both codes and plan for changes
Before the codes reach the table, scan each one with at least two phones. For WiFi, follow the device's prompts and confirm the phone can join the guest network; the exact steps and any password field depend on the device. For the menu code, confirm the page loads and shows current items. If your network password changes later, regenerate and reprint the WiFi QR. If you update menu items, hours or prices, edit the hosted page at the same URL and the existing static QR still opens the updated content without reprinting.
Creating the two codes with QREasy
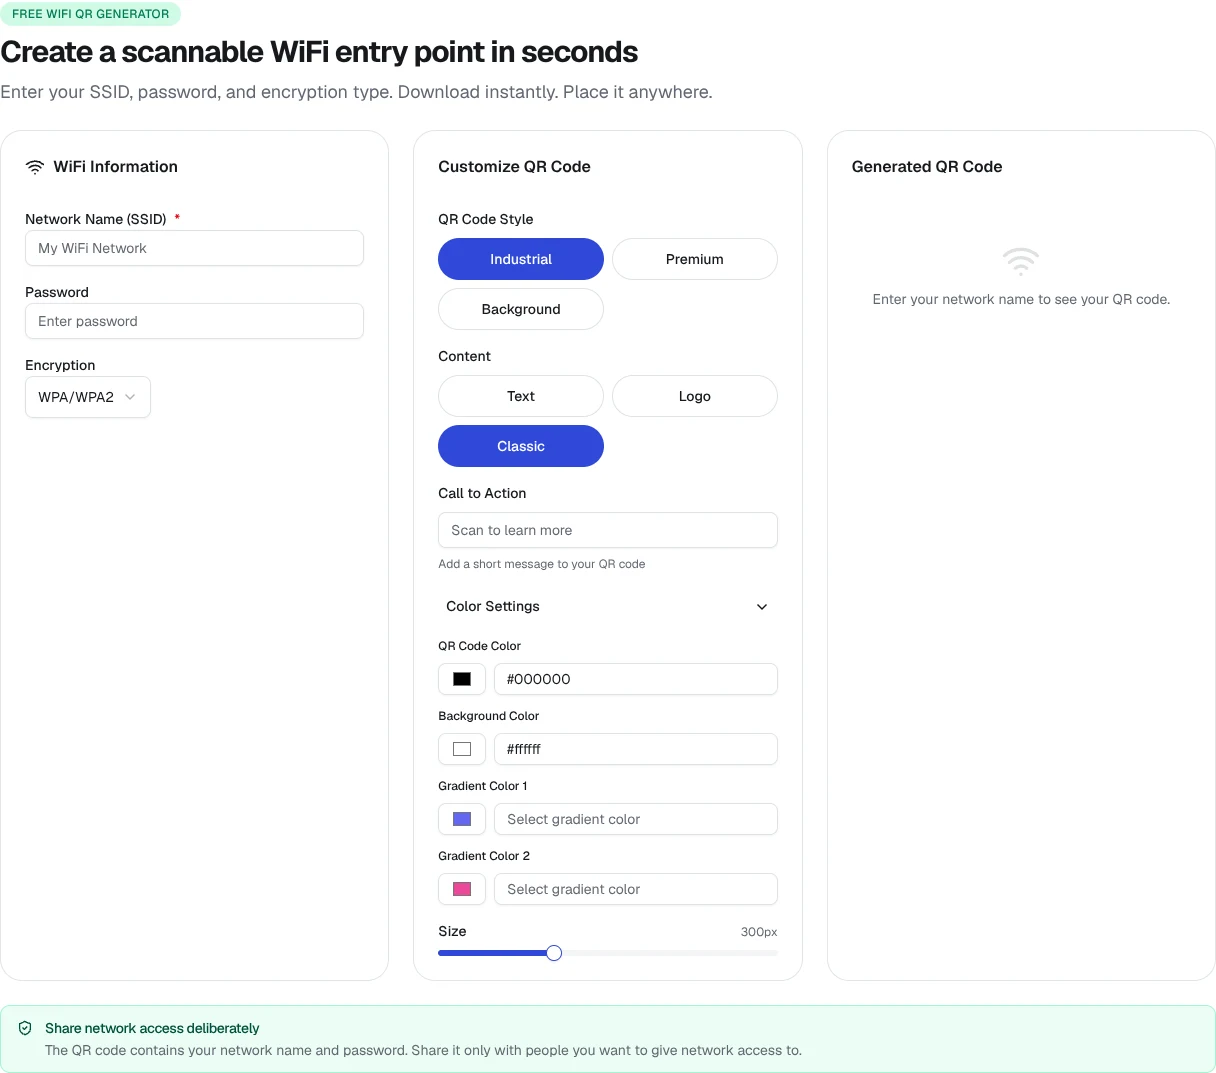
QREasy's free QR tools can produce a static WiFi code from your network details and a static URL QR from your menu page address. Free includes unlimited static QR codes, so there is no per-code QREasy generation fee. The simple restaurant template starts with one page on Free and can host the menu, hours and contact details the menu QR points to. If you want a dynamic QR with scan history later, Free includes one dynamic QR code, with higher limits on Lite SME and Business.